3D printing for beginners can feel overwhelming at first. The technology has become more accessible and affordable than ever, but choosing the right equipment and learning the basics still takes some effort. This guide breaks down everything new users need to know. It covers how the technology works, which printers suit home use, what materials to buy, and how to complete a first print successfully. By the end, beginners will have the confidence to start creating physical objects from digital designs.
Table of Contents
ToggleKey Takeaways
- 3D printing for beginners is most accessible with FDM printers, which are affordable, reliable, and easier to learn than resin alternatives.
- PLA filament is the ideal starting material because it prints at lower temperatures, resists warping, and produces minimal odors.
- Always level your bed properly before printing—an unlevel surface is the leading cause of failed prints for newcomers.
- Start with simple projects like calibration cubes to build confidence before attempting complex or large-scale prints.
- Essential tools for 3D printing beginners include slicing software (like Cura), flush cutters, a removal spatula, and proper filament storage containers.
- Watch the first layer closely during every print to catch problems early and avoid wasting hours on failed projects.
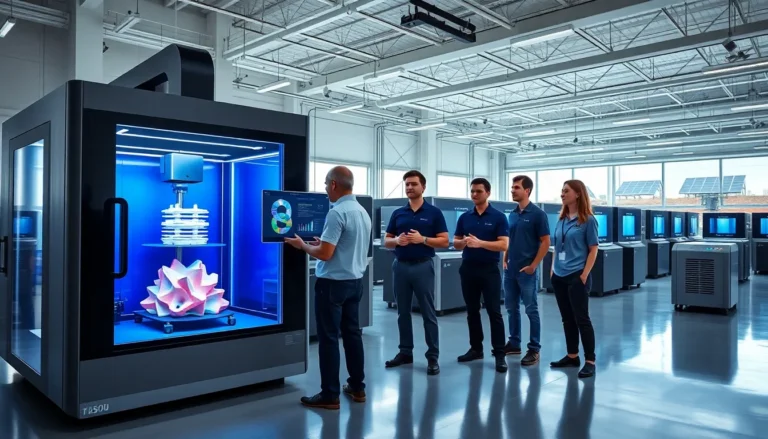
What Is 3D Printing and How Does It Work?
3D printing is an additive manufacturing process. It builds objects layer by layer from digital files. Unlike traditional manufacturing, which cuts or molds materials into shape, 3D printing adds material only where needed.
The process starts with a 3D model. Users can design these models using CAD software or download pre-made files from online repositories. The model then goes through slicing software, which converts it into instructions the printer can follow.
The printer reads these instructions and deposits material in thin horizontal layers. Each layer bonds to the one below it. Over time, these layers stack up to form a complete object. A simple figurine might take an hour. A larger, more detailed piece could take 10 hours or more.
3D printing for beginners typically involves filament-based printers. These machines heat plastic filament and push it through a nozzle. The nozzle moves along precise paths, laying down material according to the sliced file. The build plate, a flat surface where the object forms, may also move up or down during the process.
This technology has applications in prototyping, hobby crafting, education, and even medicine. For beginners, it opens doors to creating custom parts, artistic pieces, and functional household items.
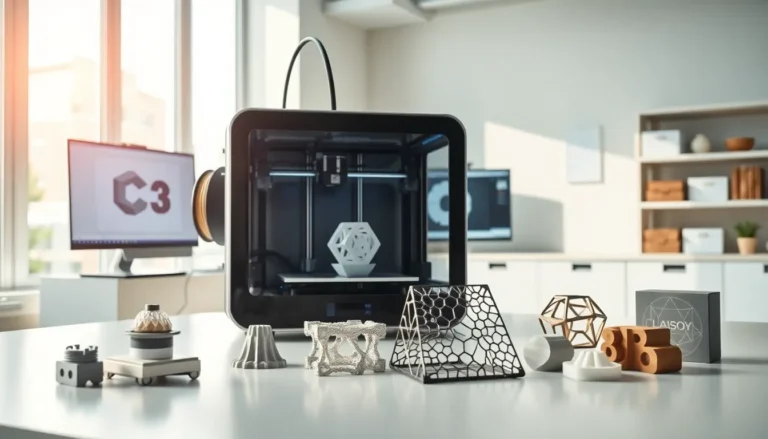
Types of 3D Printers for Home Use
Two main types of 3D printers dominate the consumer market: FDM and resin printers. Each has strengths that suit different projects.
FDM Printers
FDM stands for Fused Deposition Modeling. These printers melt plastic filament and extrude it through a heated nozzle. They’re the most popular choice for 3D printing for beginners because they’re affordable, reliable, and use safe materials.
FDM printers handle larger prints well. They work with various filament types, including PLA, PETG, and ABS. Entry-level models cost between $150 and $400. Popular beginner options include the Creality Ender 3 series and the Anycubic Kobra.
Resin Printers
Resin printers use liquid photopolymer resin cured by UV light. They produce extremely detailed prints with smooth surfaces. Miniature collectors and jewelry makers often prefer them.
But, resin printers require more post-processing. Users must wash prints in isopropyl alcohol and cure them under UV light. The resin itself can irritate skin and requires careful handling. Resin printers also have smaller build volumes than most FDM machines.
For beginners, FDM printers offer a gentler learning curve. They produce less mess, cost less to operate, and tolerate mistakes more forgivingly.
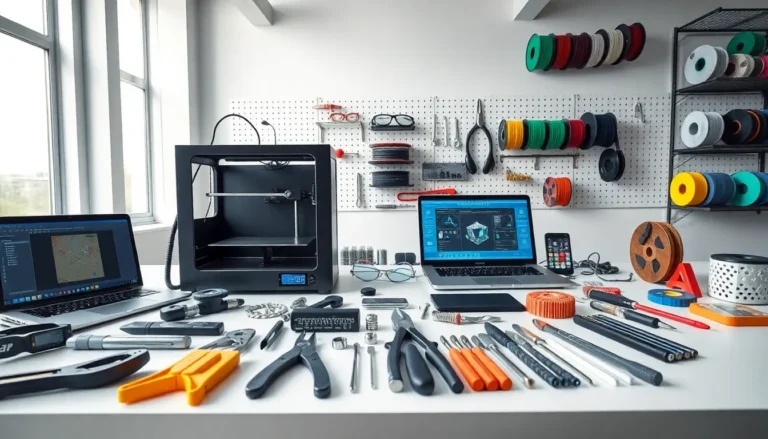
Essential Equipment and Materials You Need
Starting 3D printing for beginners requires more than just a printer. A few additional tools and supplies make the experience smoother.
Filament: PLA is the best starting material. It prints at lower temperatures, doesn’t warp easily, and produces minimal odors. A 1kg spool costs around $20 and lasts through many projects.
Build Surface Adhesion: Prints must stick to the build plate during printing. Many printers come with textured build plates that grip PLA well. Others may need glue sticks or painter’s tape for better adhesion.
Removal Tools: A thin spatula or scraper helps remove finished prints from the build plate without damage.
Flush Cutters: These snip away support structures cleanly. Supports are temporary scaffolds the printer creates to hold up overhanging sections.
Slicing Software: Programs like Cura, PrusaSlicer, or Bambu Studio convert 3D models into printable files. Most are free and work with multiple printer brands.
STL Files: These are the standard format for 3D printable models. Websites like Thingiverse, Printables, and MyMiniFactory offer thousands of free designs.
Storage: Filament absorbs moisture from the air. Sealed containers with desiccant packets keep spools dry and ready to use.
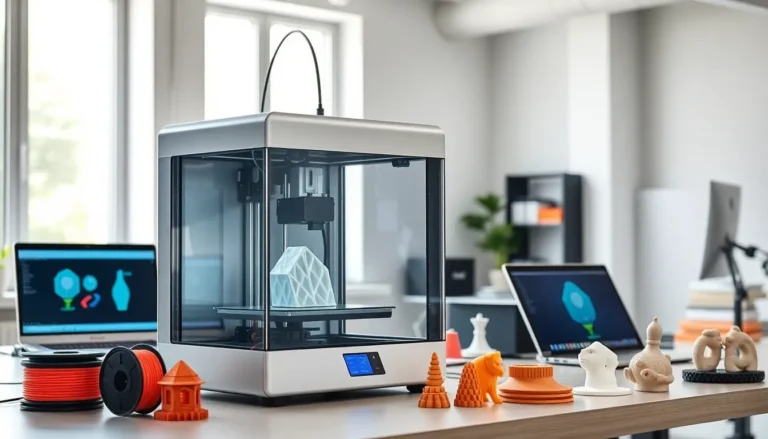
Your First Print: Step-by-Step Process
Completing a first print marks a milestone in 3D printing for beginners. Here’s how to approach it.
Step 1: Set Up the Printer
Assemble the printer according to its manual. Level the bed, this ensures the nozzle maintains consistent distance from the build plate across the entire surface. Many modern printers include automatic bed leveling, which simplifies this step.
Step 2: Load Filament
Heat the nozzle to the filament’s recommended temperature (around 200°C for PLA). Feed the filament through the extruder until it flows from the nozzle. This confirms everything works correctly.
Step 3: Choose a Model
Start simple. A calibration cube or small figurine tests the printer without wasting hours on a failed print. Download an STL file from a trusted source.
Step 4: Slice the Model
Open the file in slicing software. Choose your printer profile and filament type. For a first print, use default settings, they’re optimized for reliability. Export the sliced file to an SD card or send it directly to the printer.
Step 5: Print
Watch the first few layers closely. If they stick well and look even, the print will likely succeed. Step away once the base layers complete, but check back periodically.
Step 6: Remove and Finish
Let the build plate cool before removing the print. Cold prints pop off more easily. Use flush cutters to remove any supports, then admire the result.
Common Mistakes to Avoid as a Beginner
3D printing for beginners comes with a learning curve. These common errors trip up many newcomers.
Skipping Bed Leveling: An unlevel bed causes failed prints. The first layer won’t stick properly in some areas while getting squished in others. Take time to level the bed correctly, even if the printer has automatic leveling.
Printing Too Fast: Speed tempts beginners who want quick results. But faster printing reduces quality and increases failure rates. Stick to moderate speeds until skills improve.
Ignoring Temperature Settings: Each filament type needs specific temperatures. PLA prints best around 190–210°C. PETG needs 230–250°C. Wrong temperatures cause poor layer adhesion, stringing, or clogs.
Choosing Complex First Projects: Ambitious prints fail more often. Start with proven, simple designs. Build confidence before attempting detailed or large projects.
Neglecting Filament Storage: Wet filament prints poorly. It creates bubbles, rough surfaces, and weak parts. Store spools in sealed containers when not in use.
Not Watching the First Layer: Most print failures show signs in the first layer. Watching this phase catches problems early and saves time.