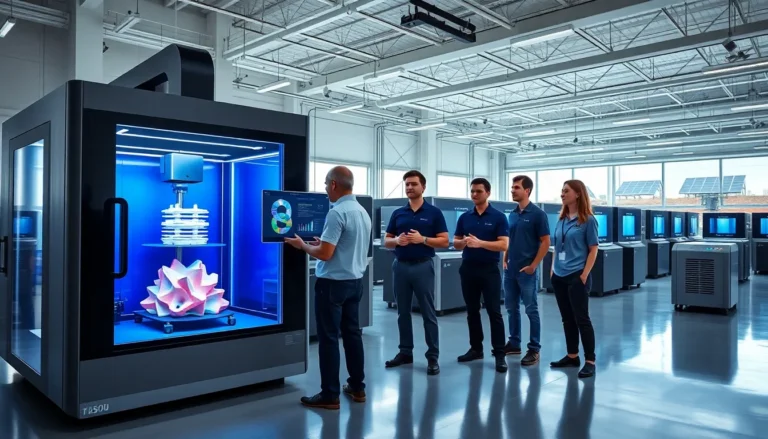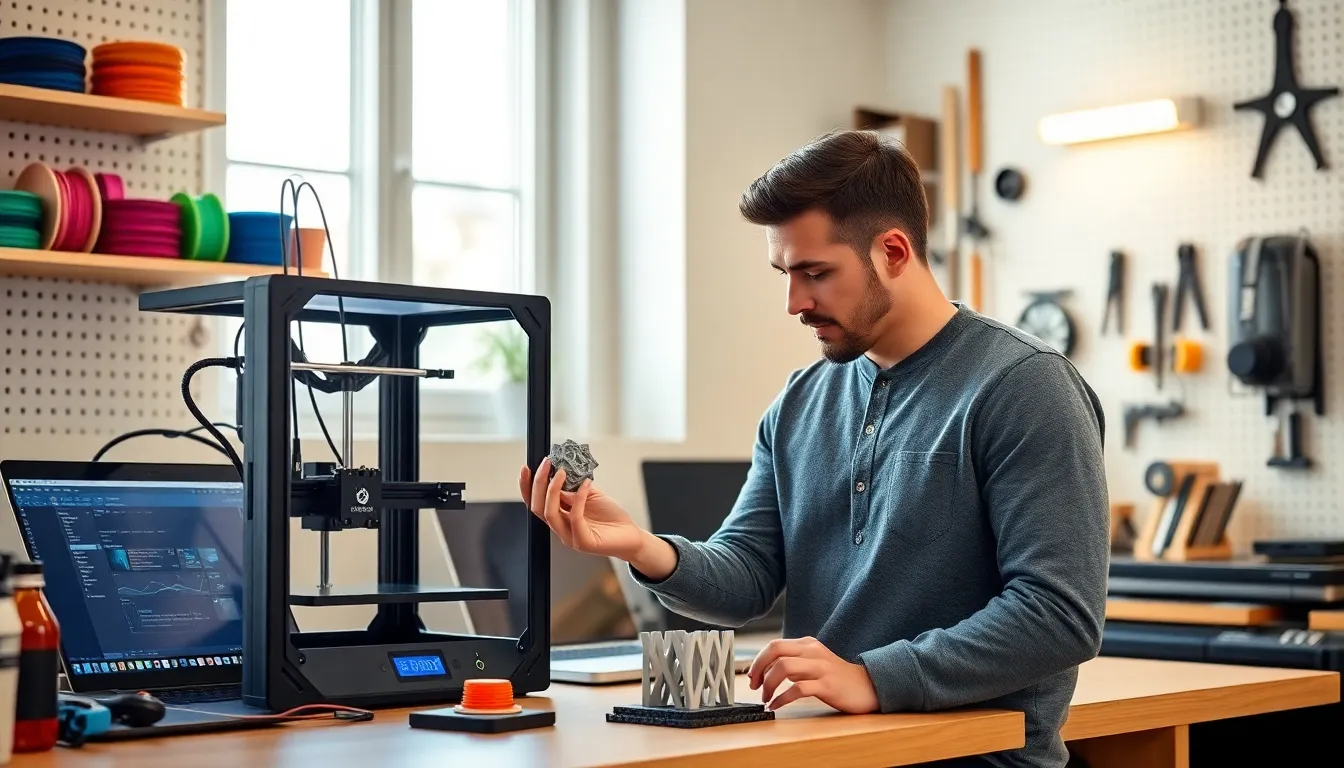
3D printing tips can transform an average hobbyist into someone who consistently produces clean, accurate prints. Whether someone just unboxed their first printer or has been at it for years, small adjustments often make the biggest difference. A failed print wastes time, filament, and patience. The good news? Most problems have straightforward solutions.
This guide covers the core areas that matter: printer preparation, material selection, design optimization, troubleshooting, and maintenance. Each section delivers practical advice that readers can apply immediately. No fluff, no theory overload, just actionable 3D printing tips that work.
Table of Contents
ToggleKey Takeaways
- Proper printer preparation—including bed leveling, nozzle checks, and belt tension—prevents most common 3D printing failures.
- Matching filament type to your project (PLA for beginners, PETG for durability, ABS for heat resistance) dramatically improves print quality.
- Strategic part orientation and minimizing overhangs reduce support needs and create stronger, cleaner prints.
- Troubleshoot issues systematically: adhesion problems often need bed cleaning, stringing requires retraction adjustments, and warping calls for higher bed temperatures.
- Regular maintenance like cold pulls, lubrication, and proper filament storage keeps your 3D printer performing consistently for years.
- These practical 3D printing tips take minutes to implement but save hours of failed prints and wasted filament.
Prepare Your Printer for Success
A well-prepared printer produces better results. Period. Before starting any print job, users should run through a quick checklist.
Level the print bed. An uneven bed causes adhesion issues and warped first layers. Most printers include a manual leveling process using a sheet of paper. The nozzle should lightly grip the paper at each corner. Some machines offer auto-leveling, but even these benefit from occasional manual checks.
Clean the build surface. Oils from fingerprints, dust, and leftover filament residue reduce adhesion. A quick wipe with isopropyl alcohol (90% or higher) solves most problems. Glass beds, magnetic plates, and textured surfaces all need regular cleaning.
Check the nozzle. Clogs ruin prints fast. Before a job, extrude a small amount of filament manually. It should flow smoothly and consistently. If the filament curls or comes out unevenly, the nozzle may need cleaning or replacement.
Verify belt tension. Loose belts cause layer shifting and ghosting artifacts. They should feel firm when pressed, not slack, not guitar-string tight. Most printers allow tension adjustment through screws or tensioners near the motors.
These 3D printing tips take five minutes but prevent hours of failed prints. Preparation matters more than most people realize.
Choose the Right Materials and Settings
Material selection affects print quality, strength, and ease of printing. Each filament type has specific requirements.
PLA remains the most beginner-friendly option. It prints at lower temperatures (190–220°C nozzle, 50–60°C bed) and doesn’t require an enclosure. PLA works well for decorative items, prototypes, and low-stress functional parts.
PETG offers better durability and heat resistance than PLA. It requires slightly higher temperatures (230–250°C nozzle, 70–80°C bed) and tends to string more. Reducing retraction speed and enabling coasting helps manage this.
ABS provides excellent strength and heat tolerance but demands an enclosed printer to prevent warping. Temperature settings typically run 220–250°C for the nozzle and 90–110°C for the bed. Proper ventilation is essential since ABS releases fumes during printing.
TPU and flexible filaments need slower print speeds (15–30 mm/s) and direct drive extruders work best. Bowden setups can struggle with the material’s flexibility.
Beyond material choice, dialing in settings matters tremendously. Layer height affects detail and print time, 0.2mm works for most projects, while 0.1mm suits fine details. Print speed impacts quality: slowing down to 40–50 mm/s often improves results for detailed models.
These 3D printing tips on materials help users match their filament choice to their project needs. The right combination saves frustration and produces stronger, cleaner prints.
Design and Slicing Best Practices
Good design habits prevent print failures before they start. A few principles apply across nearly every project.
Orient parts strategically. The direction a model faces on the build plate affects strength, surface quality, and support requirements. Layers act like wood grain, strong along the plane, weaker perpendicular to it. Orient functional parts so stress loads align with layer lines, not against them.
Minimize overhangs. Most printers handle 45-degree overhangs without supports. Steeper angles require support structures, which leave marks and add cleanup time. Redesigning parts or splitting them into multiple pieces often eliminates support needs entirely.
Add chamfers instead of sharp edges. Sharp 90-degree overhangs print poorly. A 45-degree chamfer on bottom edges eliminates the problem and often looks better anyway.
Use proper wall thickness. Thin walls (under 1mm) may not slice correctly or print with gaps. Most slicers default to two or three wall lines, adjust this based on part requirements.
Slicing software converts 3D models into printer instructions. Popular options include Cura, PrusaSlicer, and Simplify3D. Each offers extensive settings, but a few deserve attention:
- Infill percentage: 15–20% works for most prints: increase for structural parts
- Support settings: Tree supports often remove more cleanly than grid patterns
- Brim and raft options: Brims improve bed adhesion for small footprint parts
These 3D printing tips on design and slicing streamline the process from model to finished part. Smart choices at this stage prevent problems later.
Troubleshoot Common Print Problems
Even experienced users encounter issues. Knowing how to diagnose and fix problems quickly separates frustration from productivity.
First layer not sticking: This common issue has several causes. The bed may need leveling, the nozzle might be too far from the surface, or the bed temperature could be too low. Cleaning the build surface with isopropyl alcohol often resolves adhesion problems. Some users apply glue stick or hairspray for extra grip.
Stringing between parts: Those thin wisps of filament indicate retraction settings need adjustment. Increase retraction distance (start with 5–6mm for Bowden, 1–2mm for direct drive) and speed. Lowering print temperature by 5–10°C also reduces stringing.
Layer shifting: When layers suddenly offset horizontally, belts are usually the culprit. Check tension and ensure pulleys are tight on their motor shafts. Overheating stepper drivers can also cause this, improve electronics cooling if needed.
Under-extrusion: Gaps in walls or weak infill suggest the printer isn’t pushing enough filament. Causes include partial clogs, incorrect filament diameter settings, or worn extruder gears. Check the filament path from spool to nozzle for any obstructions.
Warping: Corners lifting from the bed indicate temperature issues. Increase bed temperature, add a brim for better adhesion, or use an enclosure for ABS and other warp-prone materials.
These 3D printing tips help users identify root causes rather than just symptoms. Systematic troubleshooting saves time and filament.
Maintain Your Printer for Long-Term Performance
Regular maintenance extends printer life and ensures consistent quality. A few tasks should become routine.
Clean the nozzle regularly. Cold pulls (also called atomic pulls) remove debris effectively. Heat the nozzle to printing temperature, push filament through, cool to 90°C, then pull firmly. Repeat until the filament comes out clean.
Lubricate moving parts. Linear rails and lead screws benefit from periodic lubrication. Use machine oil or lithium grease sparingly, excess attracts dust. Most printers need this every few months with regular use.
Inspect and replace worn components. Nozzles wear out, especially when printing abrasive materials like carbon fiber or glow-in-the-dark filament. Brass nozzles last 3–6 months with standard PLA: hardened steel versions handle abrasives better. PTFE tubes in Bowden setups degrade over time and need replacement when retraction issues appear.
Keep firmware updated. Manufacturers release updates that fix bugs and add features. Check periodically and follow proper flashing procedures.
Store filament properly. Moisture destroys print quality. Keep spools in sealed containers with desiccant packets. Hygroscopic materials like nylon and PETG suffer most from humidity exposure.
These 3D printing tips on maintenance prevent gradual quality degradation that many users attribute to other causes. A maintained printer performs like new for years.