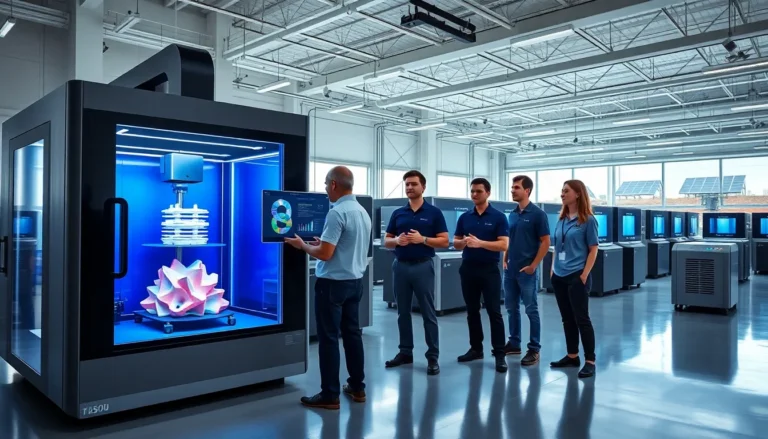
Hardware techniques form the foundation of every reliable computer system. Whether someone builds a gaming PC, upgrades a workstation, or maintains enterprise servers, these methods determine success or failure. Proper hardware techniques save time, prevent damage, and maximize performance.
This guide covers the essential hardware techniques every builder and technician should know. Readers will learn about core components, assembly best practices, performance tuning, and troubleshooting. Each section provides practical knowledge that applies to real-world scenarios.
Table of Contents
ToggleKey Takeaways
- Mastering hardware techniques—from CPU installation to cable management—prevents component damage and ensures system stability.
- Always use anti-static protection and work on a clean, flat surface to avoid electrostatic discharge when handling sensitive parts.
- Enable XMP or EXPO profiles in BIOS to unlock your RAM’s full speed potential without manual overclocking.
- Maintain positive air pressure in your case (more intake than exhaust fans) to reduce dust buildup and improve cooling.
- Troubleshoot no-POST issues by reseating RAM sticks and testing one module at a time to identify faulty memory.
- Keep SSDs at 10-20% free space to maintain consistent read/write performance over time.
Understanding Core Hardware Components
Every system relies on several core hardware components working together. Understanding each part helps builders make informed decisions and apply the right hardware techniques during installation.
The Central Processing Unit (CPU)
The CPU handles all computational tasks. Modern processors contain multiple cores that process instructions simultaneously. Intel and AMD dominate the consumer market, each offering different architectures. Builders must match their CPU choice to the motherboard socket type. Common sockets include Intel’s LGA 1700 and AMD’s AM5.
Memory and Storage
RAM provides temporary storage for active processes. DDR5 memory now offers speeds above 6000 MT/s, though DDR4 remains popular for budget builds. Storage options include solid-state drives (SSDs) and hard disk drives (HDDs). NVMe SSDs connect directly to the motherboard and deliver read speeds exceeding 7000 MB/s.
Graphics Processing Units (GPUs)
GPUs handle visual rendering and parallel processing tasks. Discrete graphics cards from NVIDIA and AMD serve gamers and creative professionals. The GPU connects to the motherboard via a PCIe x16 slot. Power requirements vary widely, high-end cards may need 300 watts or more.
Power Supply Units (PSUs)
The PSU converts AC power from the wall into DC power for components. Efficiency ratings (80 Plus Bronze, Gold, Platinum) indicate how much power the unit wastes as heat. Builders should choose a PSU with 20-30% more capacity than their system requires. This headroom ensures stable operation and allows for future upgrades.
Assembly and Installation Best Practices
Proper assembly techniques prevent damage and ensure system stability. These hardware techniques apply to new builds and component upgrades alike.
Workspace Preparation
Builders should work on a clean, flat surface with good lighting. Static electricity damages sensitive components. Anti-static wrist straps ground the user and prevent electrostatic discharge (ESD). Alternatively, touching the metal case periodically dissipates static charge.
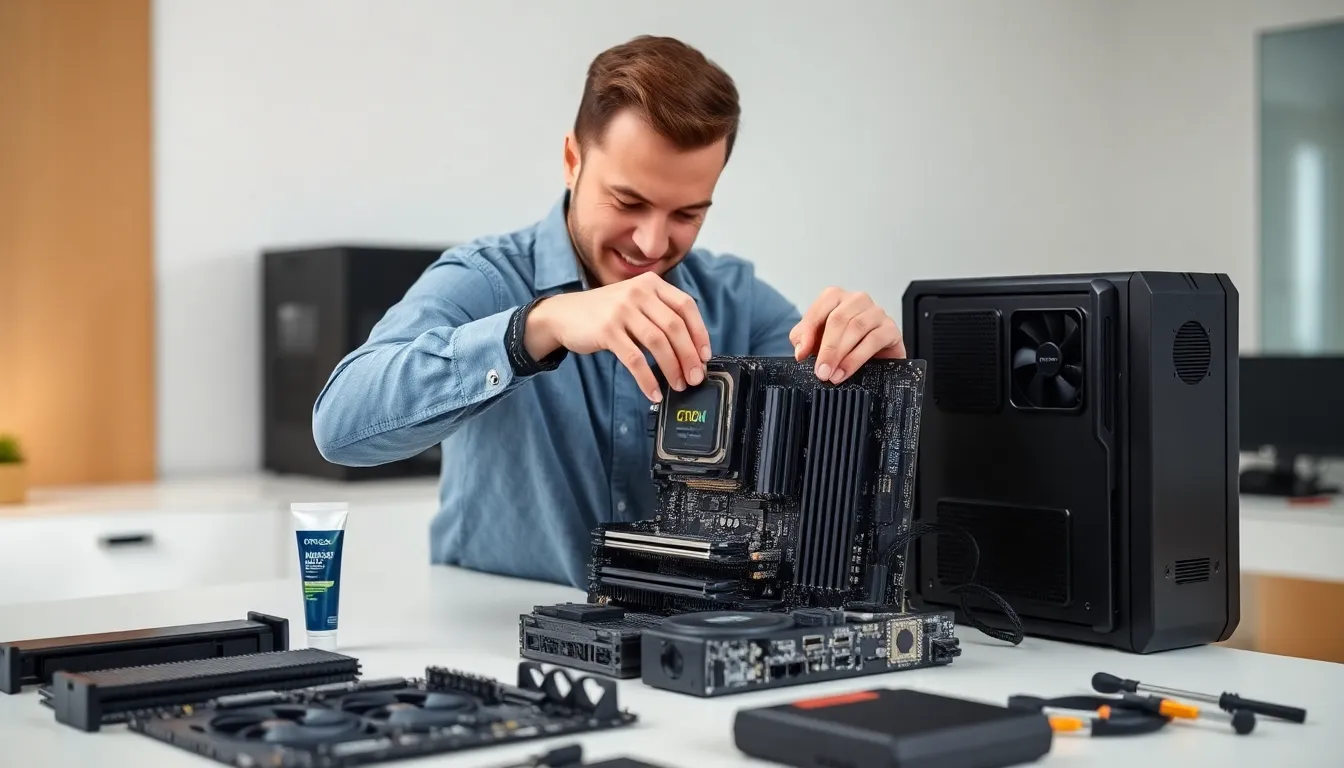
CPU Installation
CPU installation requires care and precision. The processor has alignment markers that match the socket. Builders should never force the CPU into place. Once seated correctly, the retention mechanism secures it. Thermal paste application follows, a pea-sized amount in the center spreads evenly under cooler pressure.
Memory Installation
RAM sticks insert into DIMM slots at an angle, then click into place. Dual-channel configurations require specific slot placement. Most motherboards use slots 2 and 4 for a two-stick setup. The manual confirms the optimal configuration for each board.
Cable Management
Good cable management improves airflow and makes future maintenance easier. Builders should route cables behind the motherboard tray when possible. Velcro ties work better than zip ties for adjustments later. Power cables should run directly to their destinations without excess loops.
Hardware Techniques for Storage Mounting
SSDs and HDDs mount in dedicated bays or brackets. M.2 drives install directly on the motherboard at an angle, then secure with a screw. SATA drives need both data and power cables. Proper mounting prevents vibration damage and maintains consistent performance.
Optimization and Performance Tuning
After assembly, optimization hardware techniques extract maximum performance from every component. These adjustments range from simple BIOS changes to advanced overclocking.
BIOS Configuration
The BIOS controls fundamental system settings. Builders should update to the latest version before making changes. Key settings include boot order, memory profiles (XMP/EXPO), and power management options. Enabling XMP or EXPO unlocks the full speed of compatible RAM.
Cooling Optimization
Effective cooling enables better performance. Case fans should create positive pressure, more intake than exhaust. This setup prevents dust buildup and maintains lower temperatures. CPU coolers must have adequate capacity for the processor’s thermal design power (TDP).
AIO liquid coolers often mount at the top or front of the case. Radiator placement affects both CPU and VRM temperatures. Front mounting pulls cool air through the radiator, while top mounting exhausts warm air directly.
Overclocking Basics
Overclocking increases component speeds beyond factory settings. CPUs and GPUs both support overclocking on most platforms. Builders should increase speeds incrementally and test stability after each change. Stress testing software like Prime95 or FurMark reveals instability before it causes problems.
These hardware techniques require additional cooling capacity. Higher voltages generate more heat. Builders must balance performance gains against thermal limits and component longevity.
Storage Performance
SSD performance degrades as drives fill up. Maintaining 10-20% free space ensures consistent speeds. TRIM commands help SSDs manage deleted data efficiently. Most operating systems enable TRIM automatically for compatible drives.
Troubleshooting Common Hardware Issues
Even careful builders encounter problems. These hardware techniques help diagnose and resolve common issues quickly.
No Power or No POST
A system that won’t power on needs systematic diagnosis. Builders should check the power switch connection, PSU switch position, and outlet function. If the PSU clicks but nothing happens, the motherboard may have a short. Removing the board from the case and testing on a non-conductive surface isolates this problem.
No POST (Power-On Self-Test) often indicates memory issues. Reseating RAM sticks or testing one stick at a time identifies faulty modules. Debug LEDs or beep codes on the motherboard point to specific failures.
Thermal Throttling
CPUs and GPUs reduce speed when temperatures exceed safe limits. Thermal throttling causes sudden performance drops during intensive tasks. Checking cooler mounting pressure and thermal paste application solves most cases. Dust buildup in heatsinks and fans also causes overheating.
Boot Drive Not Detected
When the system can’t find the boot drive, BIOS settings need verification. The drive should appear in the storage device list. If missing, checking cable connections and trying different ports helps isolate the problem. M.2 slots sometimes share bandwidth with SATA ports, disabling certain connections.
Display Issues
Blank screens or artifacts indicate GPU problems. Reseating the graphics card and checking power connections resolves many issues. Testing with integrated graphics (if available) confirms whether the discrete GPU is faulty. Driver corruption requires a clean installation using DDU (Display Driver Uninstaller) before reinstalling.